Need professional restaurant grease trap cleaning? Call Grease Collection – we are available 24/7.
In this grease trap cleaning guide, you will learn how to ensure that FOG (fats, oils and grease) stay in the trap so that they never find their way into your kitchen plumbing.
While you need a technician to install the trap, you really do not need professional help to clean it. You can train some of your staff members to be doing it at the appropriate time.
So, how often should a commercial grease trap be cleaned? The general recommendation is once every three months. However, if you are running a busy commercial kitchen, it is best to clean it sooner than this.
But first:
What is a grease trap and must you have one?
This is a trap or a grease interceptor that captures the grease and oils from the wastewater that you generate in your kitchen.
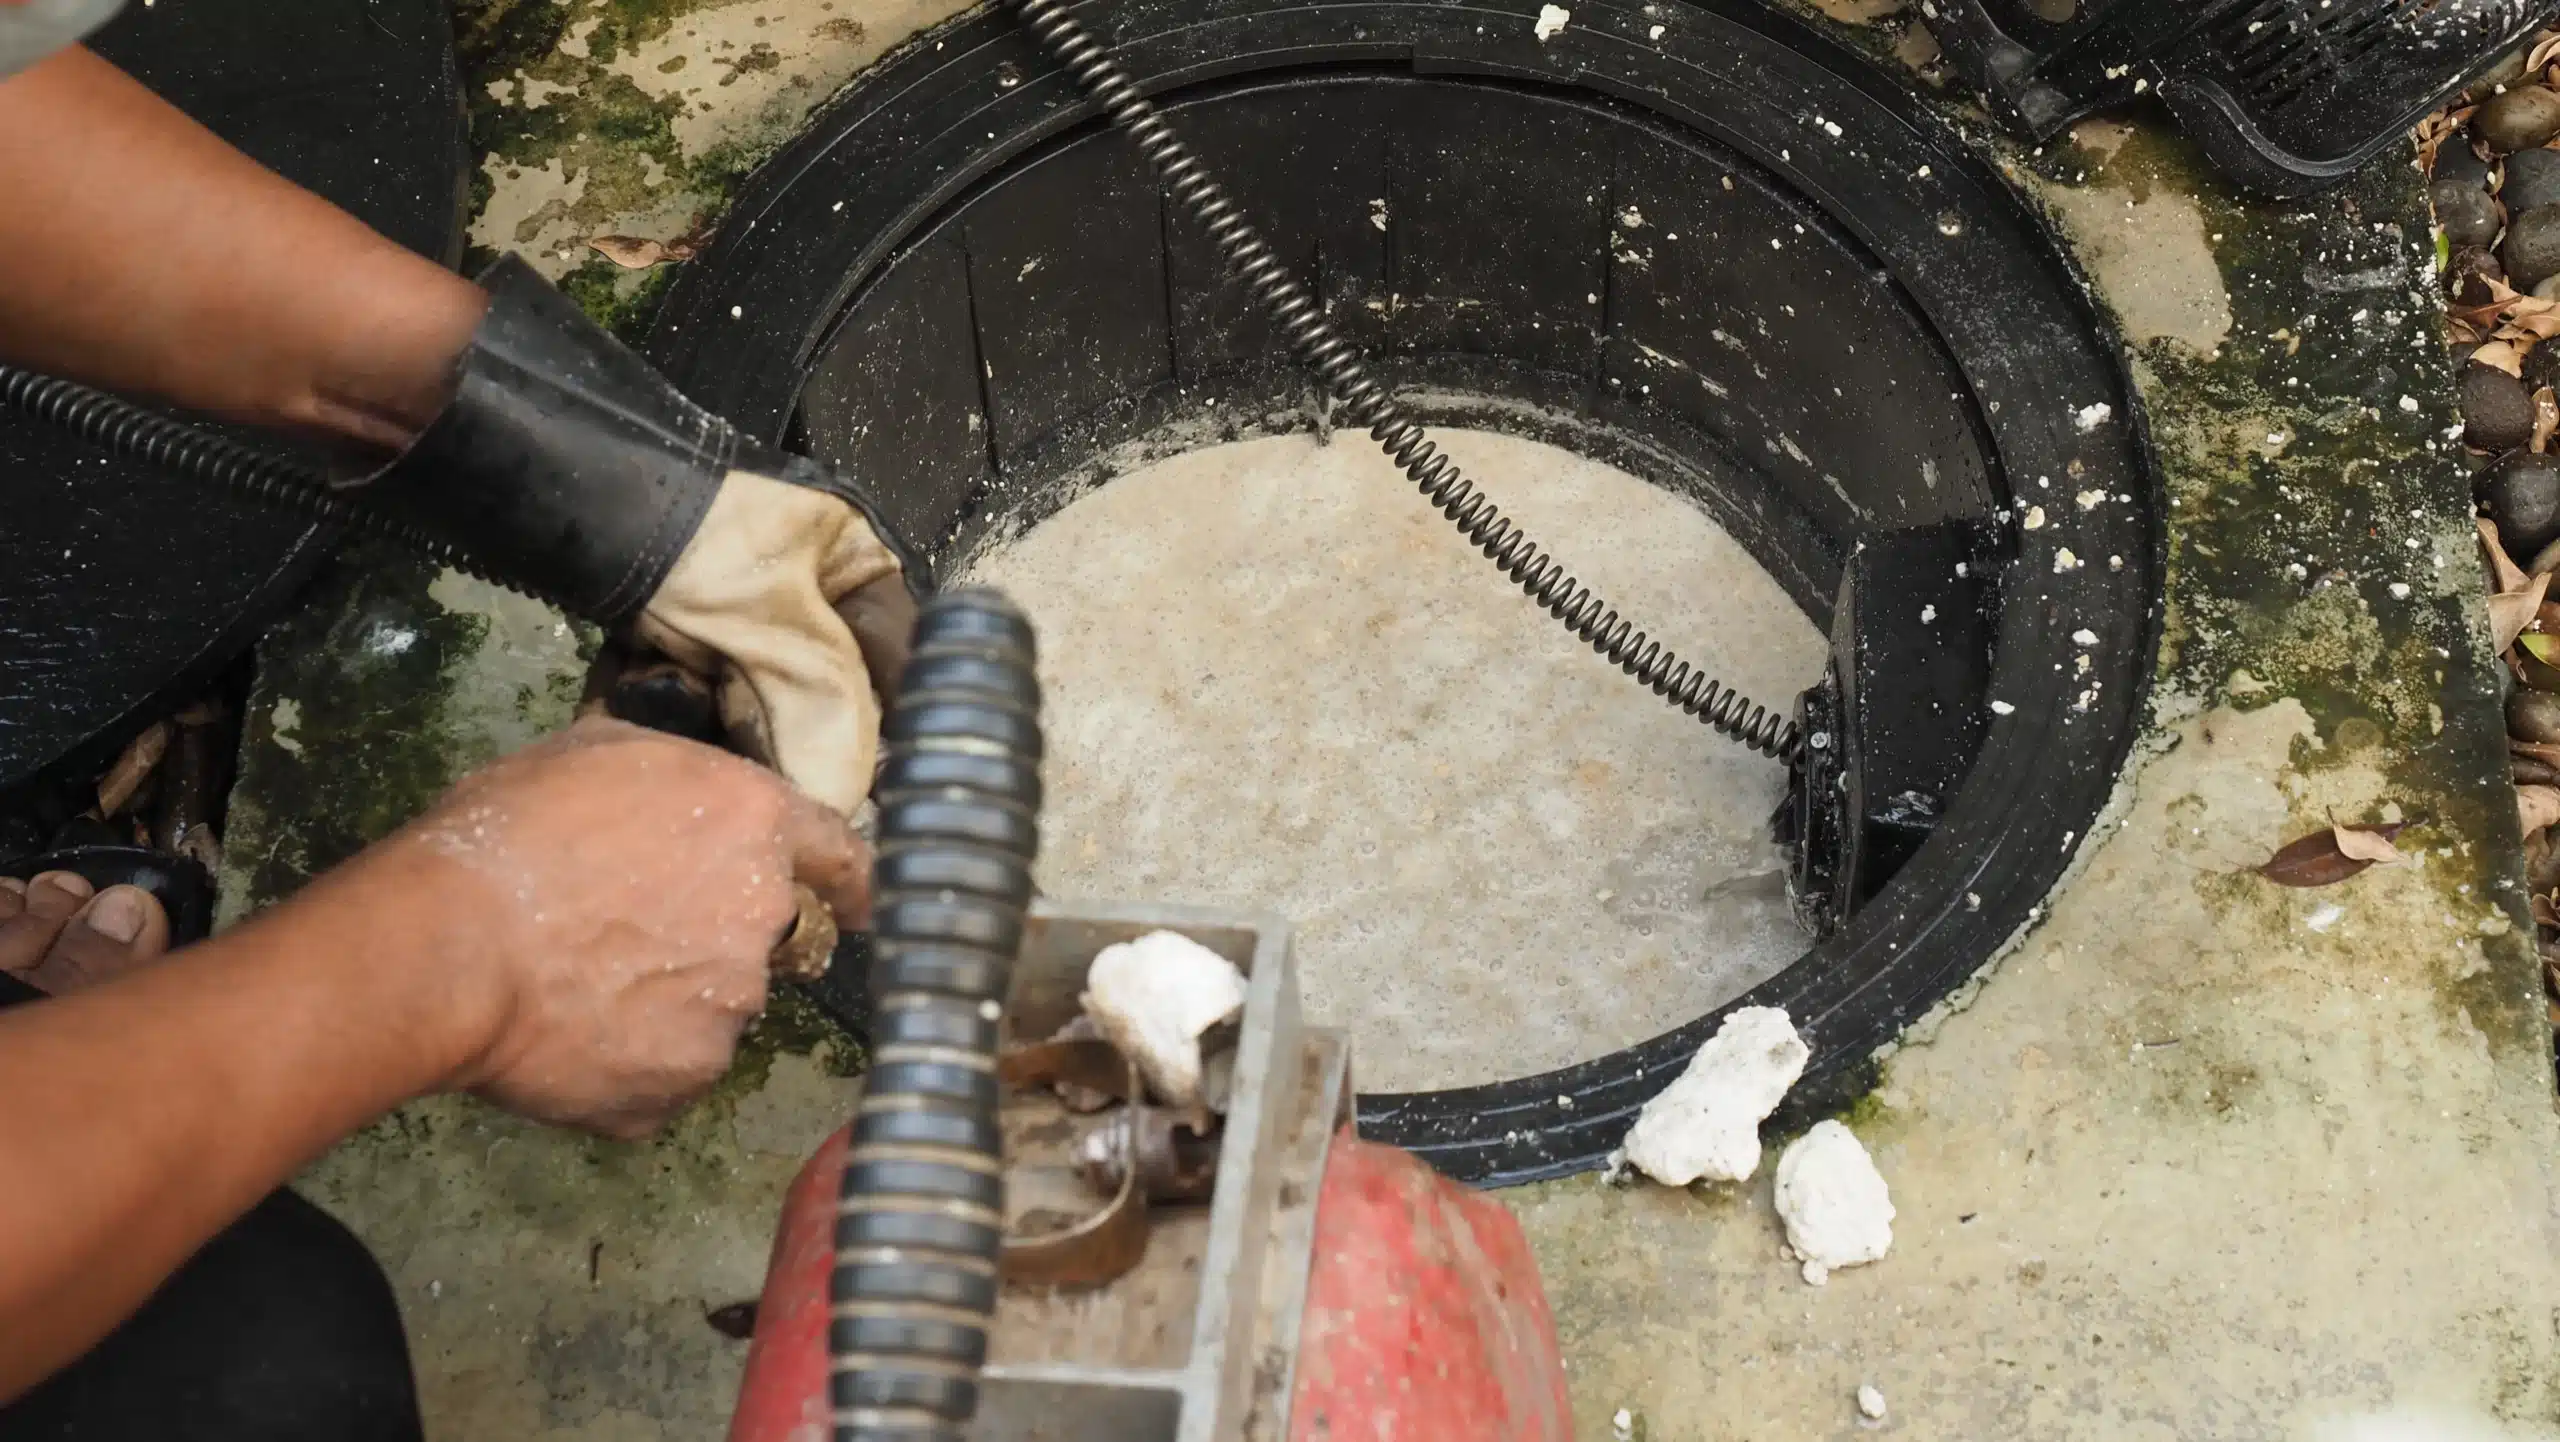
It is usually somewhere outside the restaurant building in the soil, right where the kitchen sinks are. You can locate it easily because it has a cover, so it looks like a manhole. It is a legal requirement in many countries for the commercial kitchens to install a grease trap.
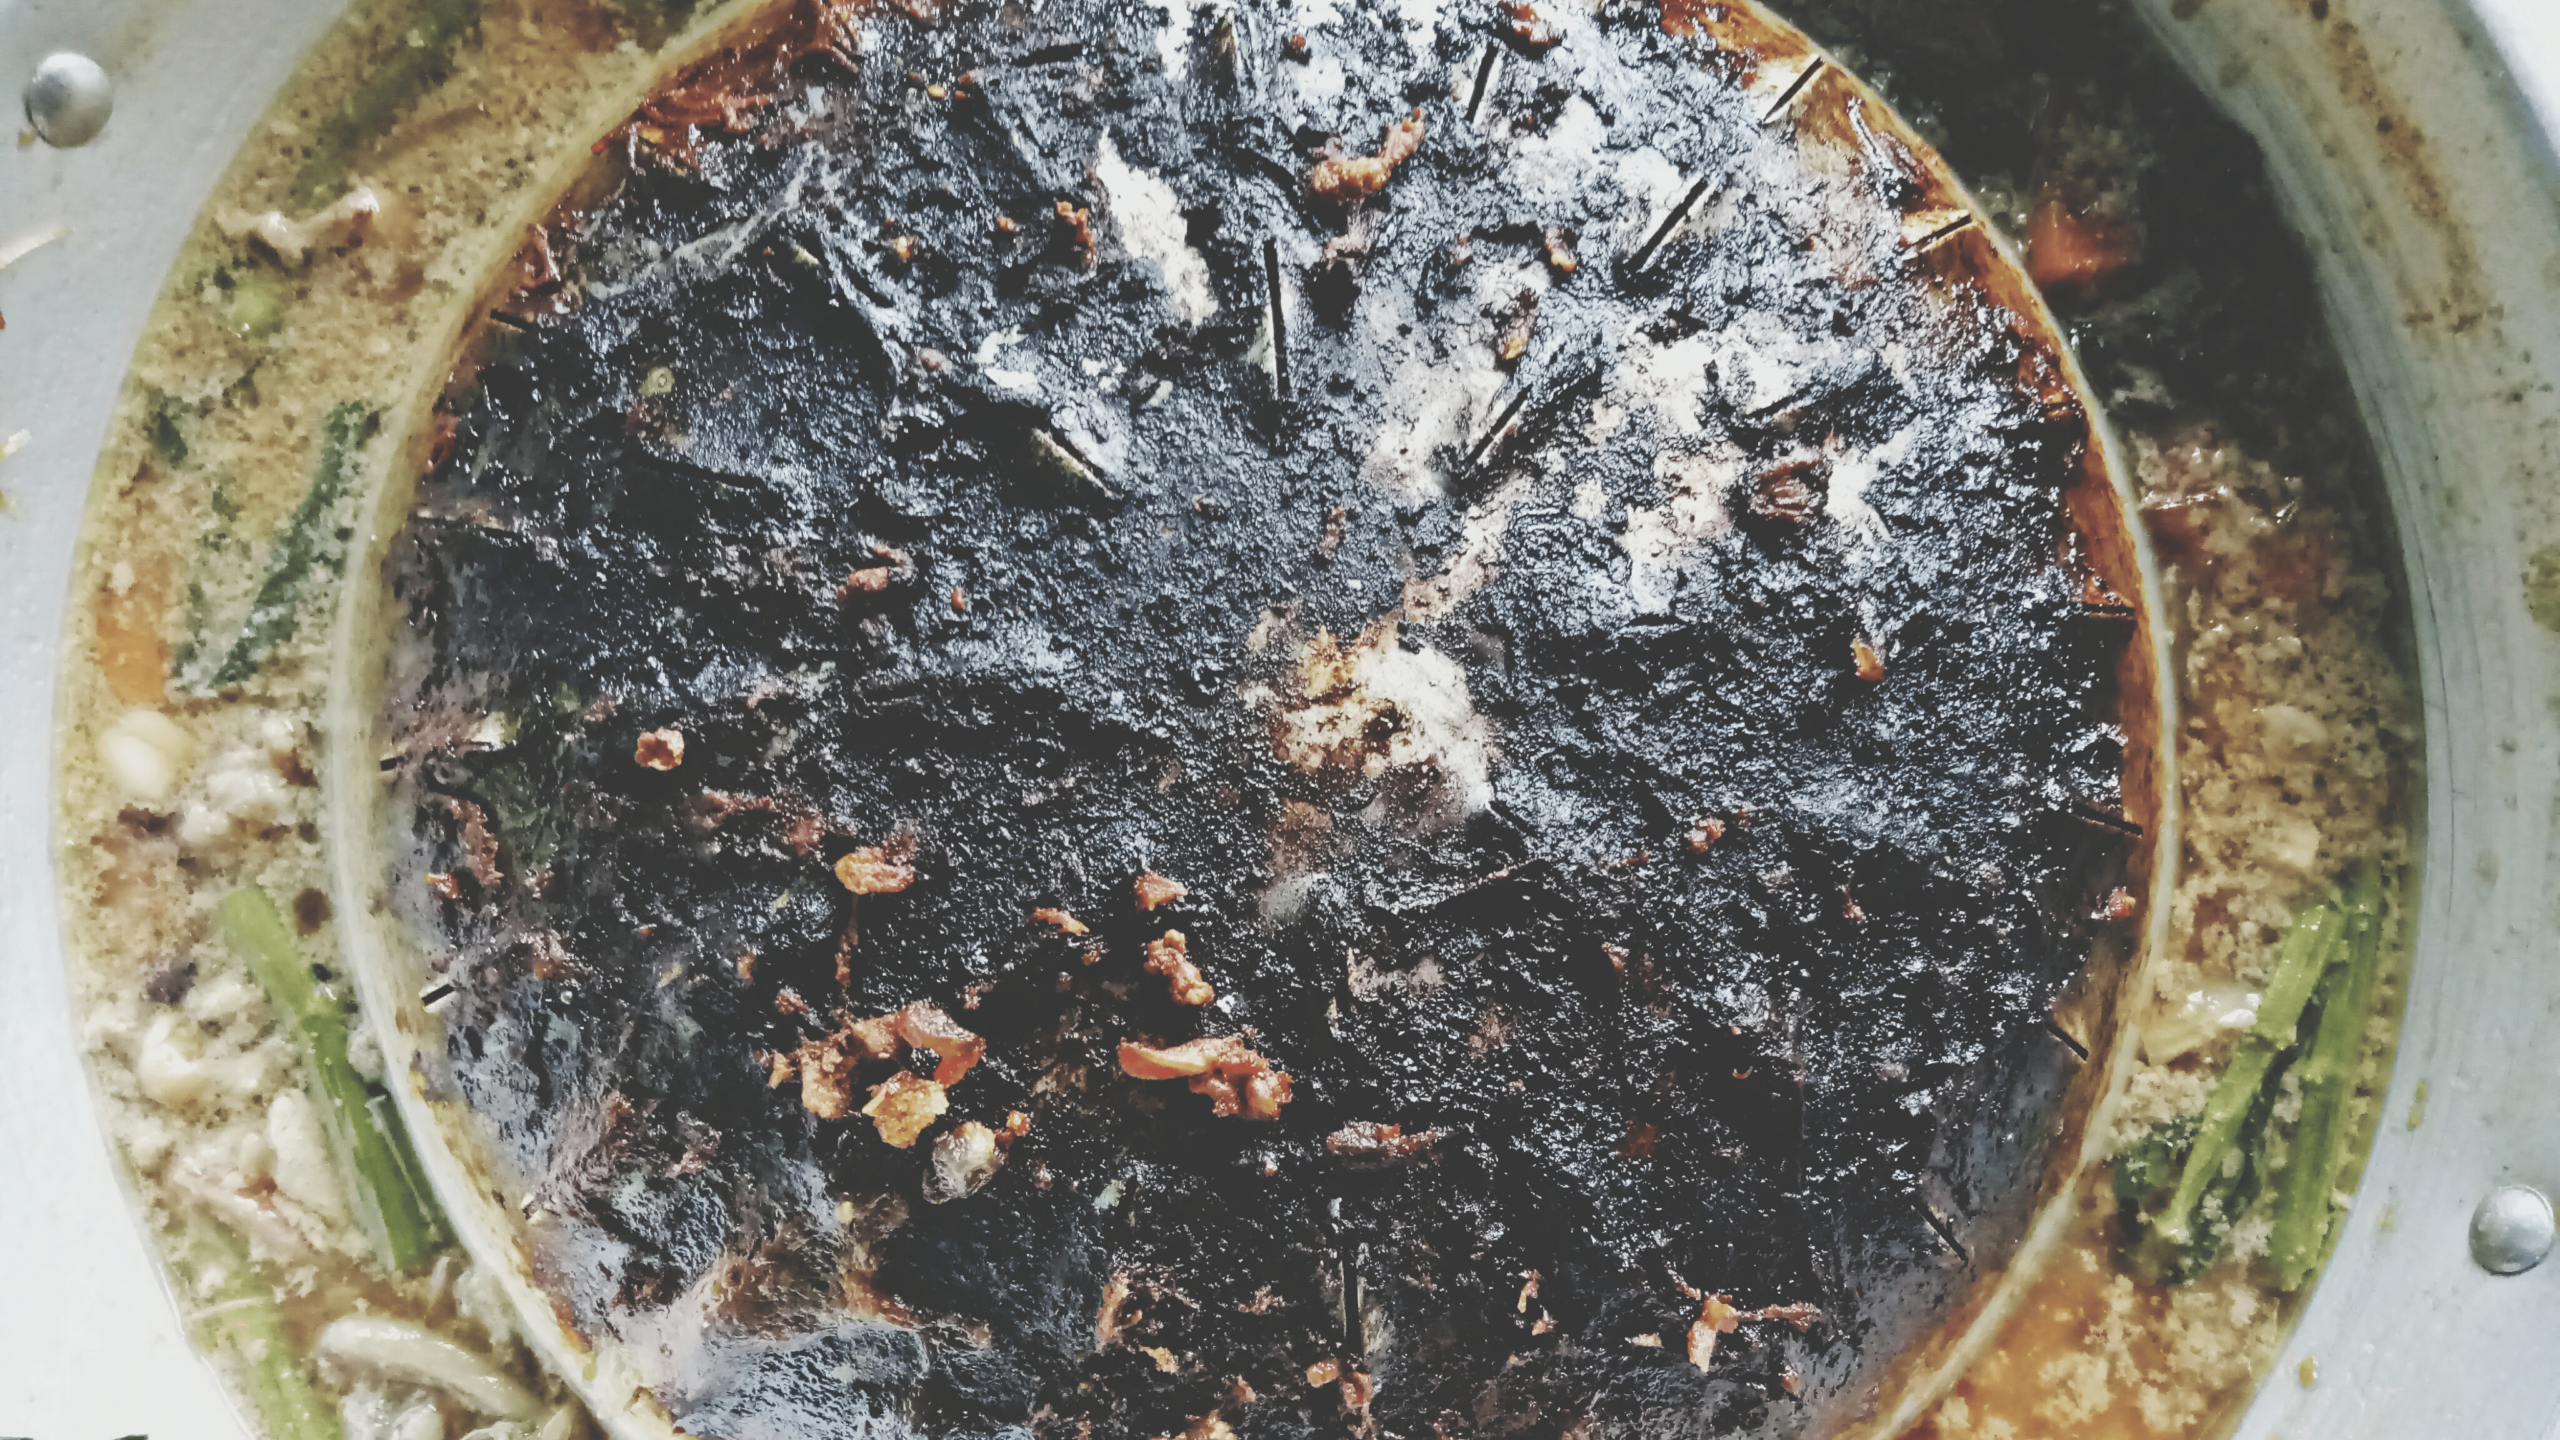
When hot used oil comes into contact with cold water in the sink, it semi-solidifies. This semi-solid grease is captured by the trap.
With time, the trap fills up and it needs proper cleaning out by scooping the grease and disposing of it. You can find out whether the grease is recyclable.
Grease Trap Cleaning Guide:
The way that the grease interceptor works is that the FOG floats on top of the water, so it is trapped. Once it is full, it is best to clean it out.
Follow the tips below:
- Crowbar – this is going to help pry open the manhole cover. You can also use a wrench depending on how your grease trap cover is designed.
- Scraper – This one is going to help you scrape the FOG out because some will be stuck on the walls especially if it has been some time since you last cleaned it out.
- You will need rubber gloves because this is a pretty nasty, dirty job.
- Shop vacuum – This is for pumping grease out of the interceptor.
- Coveralls – these will help you keep your clothes clean
Step 2: remove the grease trap cover
It is recommended that you wait for the water that has gone to the grease trap to cool down. Water from the automatic dishwasher is going to be hot. Give it some time to cool down.
After that, you can remove the cover of the grease interceptor. To do this, use a wrench or a crowbar, depending on the design. You need to be extra cautious and do it slowly.
Between the cover and the interceptor, there are gaskets, which can sustain damage easily. They make the seal of the cover tighter so that smell and liquids do not escape the trap.
Step 3: Vacuum pump the floating grease
Grease is lighter than water, so it floats on top. This makes it easier to collect. You can use a shop vacuum to suck the floating grease out and put it in trash bags for easier disposal.
When you remove the floating grease, the rest of the liquid goes down and you can suck out the rest using the vacuum. Just make sure that you do not mix the water and the grease.
Step 4: Use the scraper to remove stuck grease
After the grease interceptor is empty, use the scraper to remove the grease that is solidified and stuck on the sides.
By the time you are done, you will have the grease trap completely clean. You can scoop out what you can and anything that remains you can use the shop vacuum to pump it out.
Step 5: Cleaning the trap with soap and water
After the grease is out and the FOG interceptor is out, it is time to clean the entire interceptor. You will also need a pot scrubber to remove any remaining grease stuck on the chamber.
Pour in the hot soapy water and wait for it to dislodge any remaining grease before giving it a thorough scrubbing.
The essence of cleaning the grease interceptor with hot water and soap is to remove any rancid smells. Also, rinse it out with fresh clean water. Remember to clean the cover of the trap too.
Step 6: Test the interceptor for blockage
Sometimes, some of the grease finds its way beyond the trap. To test for blockage, pour in clean water and watch how it drains out.
If it does not leave the trap, there is a problem. If it leaves slowly, there still could be a problem. If there is blockage, only a plumber can help you out.
Step 7: Replace the cover of the trap
Now that everything is clean, slowly replace the cover of the trap, again taking care not to disrupt the gaskets. When it fits into place, the job is over! You can now commence dishwashing operations in the kitchen.
Step 8: Seal the grease
If you keep the grease in containers, cover them up. If you put it in plastic bags, seal them and keep them ready for disposal with the rest of the trash.
You are done!
Final thoughts on cleaning a grease trap
Some people wonder whether they can clean the grease trap themselves or if they have to hire a professional to do it. It depends on what you want.
Cleaning it out does not require professional tools, except a shop vacuum for grease trap pumping. Thus, it would be better to train one or two of your staff members to do the cleaning.
Stay on top of the condition of your grease trap. If you wait until the grease forces itself out of the trap or a foul smell develops, you are already too late with the cleaning. Municipal inspectors can fine you for that.
Related Articles:
Hire A Professional Grease Trap Cleaning Service for Your Restaurant
How to Make Grease Trap Cleaning Faster
How to Choose, Use, and Clean a Restaurant Grease Trap


